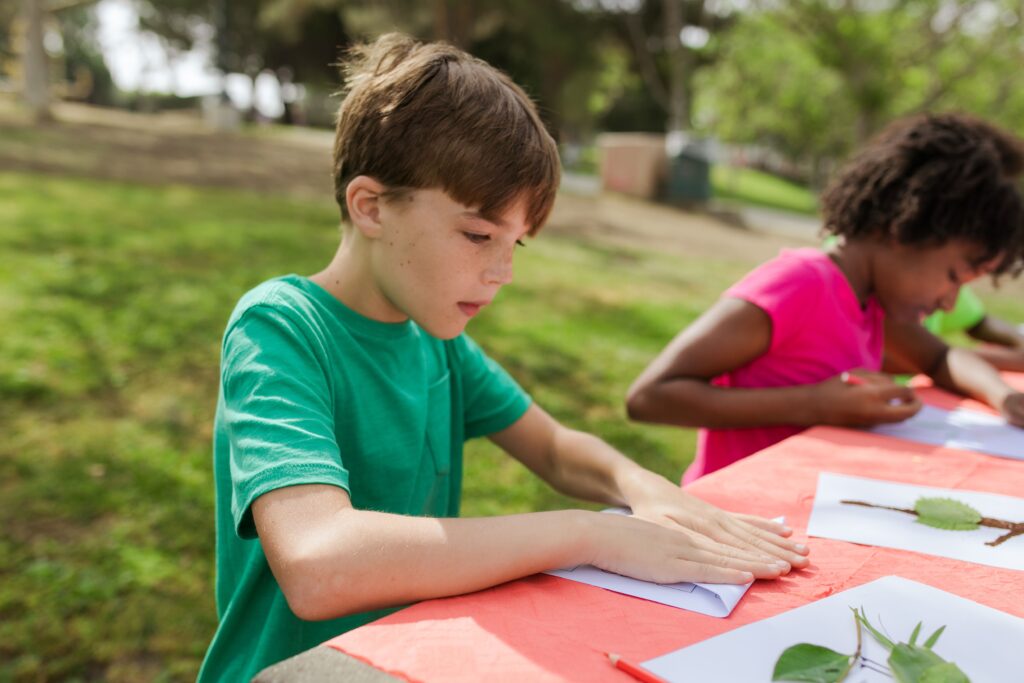
Looking for a simple, low-cost activity that gets your child outdoors and creating? Leaf rubbing is one of the easiest nature crafts you can try. All you need is some paper, a crayon, and a handful of leaves. In this guide, you’ll learn exactly how to do it, how to fix common problems, and what your child learns along the way.
Age group: 3 to 8 years (toddlers can join with help)
Time needed: 20 to 30 minutes
Cost: Almost free
Mess level: Very low
What Is Leaf Rubbing?
Leaf rubbing is a simple art technique. You place a leaf under a sheet of paper and rub over it with a crayon. The veins and edges of the leaf slowly appear on the paper, almost like magic. Children love watching the pattern show up, and it turns an ordinary walk in the garden into a mini science and art session.
Why Leaf Rubbing Is Great for Kids
- Fine motor skills: Holding a crayon sideways and rubbing with controlled pressure strengthens small hand muscles.
- Observation skills: Kids notice leaf shapes, edges, and vein patterns they would normally miss.
- Early science: It introduces ideas like texture, patterns, and the parts of a leaf.
- Creativity: Every rubbing looks different, and children can combine leaves to make pictures.
- Outdoor time: Collecting leaves gets children moving and curious about nature.
Materials You Will Need
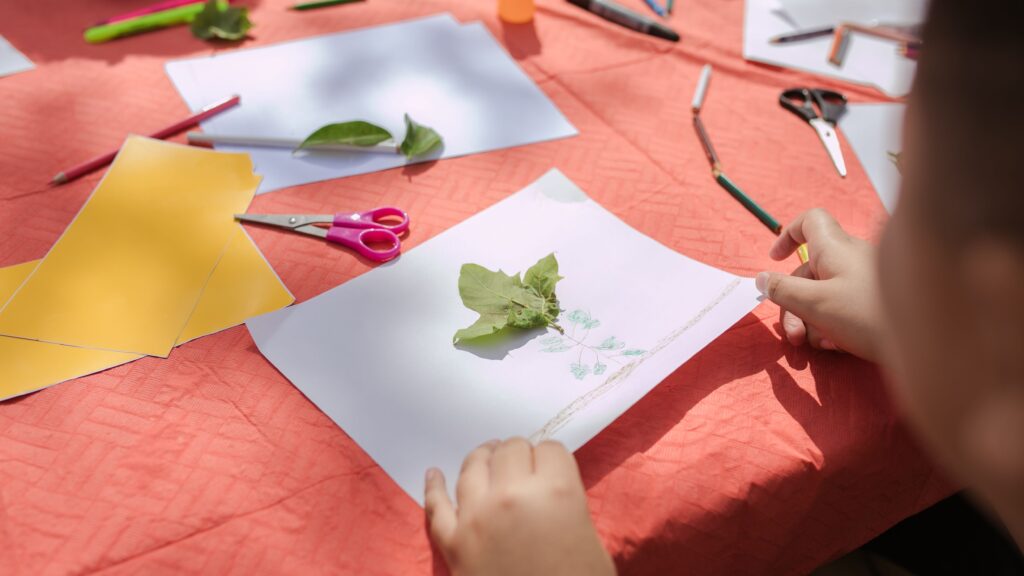
- Fresh leaves in different shapes and sizes
- Plain white paper (thin copy paper works best)
- Crayons with the paper wrapper removed
- Tape (optional, to hold the paper still)
- A flat surface like a table or clipboard
- Colored pencils or markers (optional, for decorating)
Tip: Peel the paper off your crayons and use them on their sides. The flat side covers more area and gives a smoother result than the tip.
Step-by-Step Instructions
Step 1: Go on a Leaf Hunt
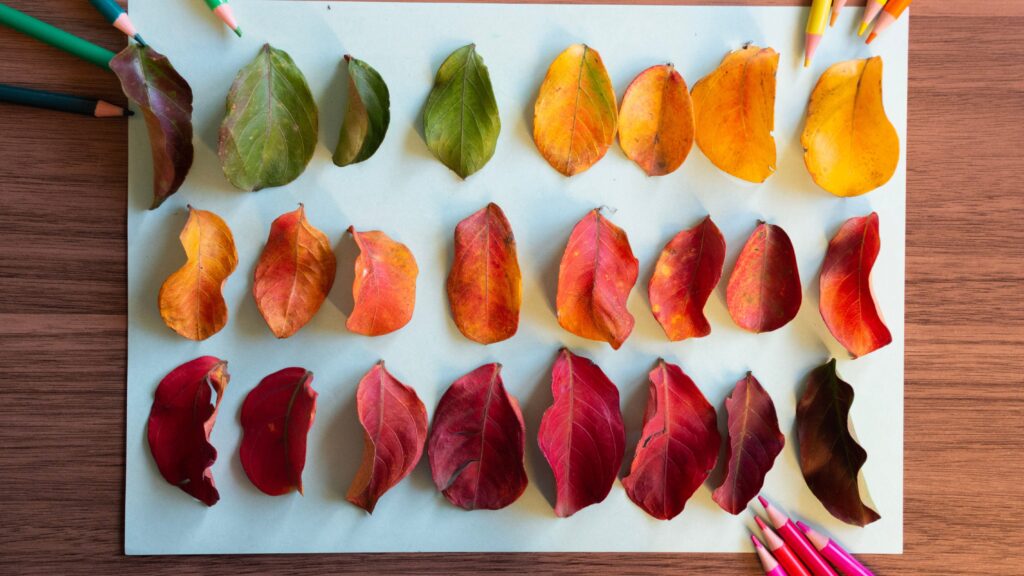
Take your child outside to collect leaves. Encourage them to look for different shapes: round, pointed, long, and fringed. Fallen leaves are ideal, so there’s no need to pull leaves off living plants. Collect 8 to 10 leaves so there are plenty to choose from.
Step 2: Choose the Best Leaves
Not every leaf works equally well. Look for leaves with clear, raised veins on the underside. Leaves that are fresh or slightly soft work better than very dry, crumbly ones. Very thick or waxy leaves may not show much detail.
Step 3: Place the Leaf Vein-Side Up
Turn the leaf so the underside faces up. The veins stick out more on this side, which gives you a much clearer print. Place it on a flat surface.
Step 4: Cover with Paper
Lay a sheet of paper over the leaf. Tape the corners down or ask your child to hold the paper with one hand so it doesn’t slide. If the paper moves, the print will look blurry.
Step 5: Rub Gently with the Crayon
Hold the crayon on its side and rub back and forth over the leaf. Start with light pressure. Rubbing too hard can tear the paper or crush the leaf. Watch as the veins and edges slowly appear.
[Add your photo: the leaf print appearing on the paper]
Step 6: Try Different Colors and Layers
Once your child understands the technique, let them experiment. Use a different color for each leaf, overlap several leaves on one page, or combine two colors on a single leaf for a blended effect.
Step 7: Label and Display
Older children can write the name of the tree or plant next to each rubbing. You can hang the finished art on the wall, staple pages into a nature booklet, or send one to a grandparent.
Troubleshooting Common Problems
The print looks faint. Press slightly harder, or switch to a darker crayon. Make sure the leaf is vein-side up.
The paper tears. The paper may be too thin, or the child is pressing too hard. Use slightly thicker paper and remind them to rub gently.
The leaf keeps moving. Use a small piece of rolled tape under the leaf to hold it in place.
The print is blurry. The paper likely shifted. Tape it down or hold it firmly.
Fun Variations to Try
- Bark rubbing: Hold paper against a tree trunk and rub to capture the bark texture.
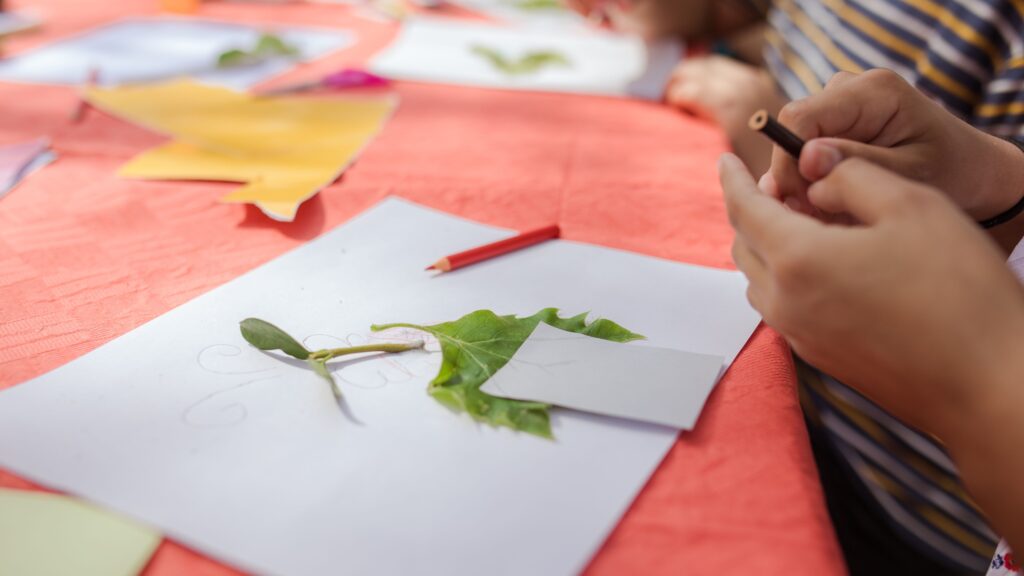
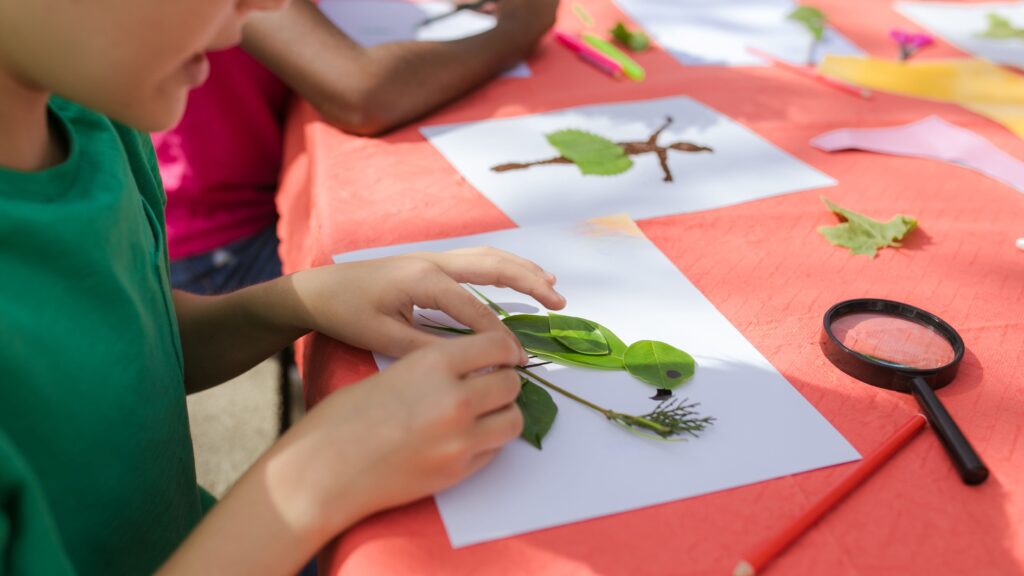
- Rubbing collage: Cut out leaf rubbings and glue them to make a tree, butterfly, or animal.
- Leaf sorting: Sort finished rubbings by shape, size, or number of points.
- Coin and stone rubbings: Try the same method with coins or textured objects around the house.
- Watercolor background: Paint a light watercolor wash over the crayon rubbing. The crayon resists the paint, so the leaf pattern stands out.
Learning Ideas for Different Ages
Toddlers (2 to 3): Focus on the fun of rubbing and seeing the print appear. Use chunky crayons and an adult to help hold the paper.
Preschoolers (3 to 5): Talk about colors, shapes, and big versus small leaves. Ask: “Which leaf has the most points?”
Early primary (6 to 8): Introduce simple vocabulary such as veins, stem, and edge. Have them sort leaves by shape and guess which tree each came from.
Safety Tips
- Supervise young children, especially toddlers who may put leaves or crayon pieces in their mouths.
- Avoid unknown plants that could irritate skin. Stick to common garden or park leaves, and wash hands afterward.
- Check leaves for insects before bringing them inside.
Frequently Asked Questions
What kind of paper works best for leaf rubbing?
Thin, plain paper such as copy paper works well because the texture shows through easily. Very thick paper hides the details.
Can I use dry leaves?
Yes, but very dry leaves can crumble. Slightly soft, fresh-fallen leaves usually give the best results.
Which crayon is best?
Regular wax crayons with the wrapper removed work best. Chunky crayons are good for younger children.
Can I do this activity indoors?
Absolutely. Collect leaves in advance and do the activity at the table, which makes it a good rainy-day option.
Final Thoughts
Leaf rubbing is proof that a great learning activity doesn’t need special supplies. In half an hour, your child practices fine motor skills, observes nature closely, and makes something they’re proud of. Try it on your next walk, and see how many different leaf patterns you can find.
[Add your own experience here: what leaves your child chose, what they said, or what worked or didn’t work for you.]

Aina Arif is a mother of two young children and the founder of NatureNestia. Based in Pakistan, she spent three years as an early childhood educator before becoming a full-time parent and writer. She writes about learning through play, managing difficult behaviour, and building strong family bonds.